Shocking Circled Text Effect
Thursday, September 21, 2006 Thursday, September 21, 2006
step 1: Lets open an new page with (500Wx500h) and filled with black.
 Step 2:
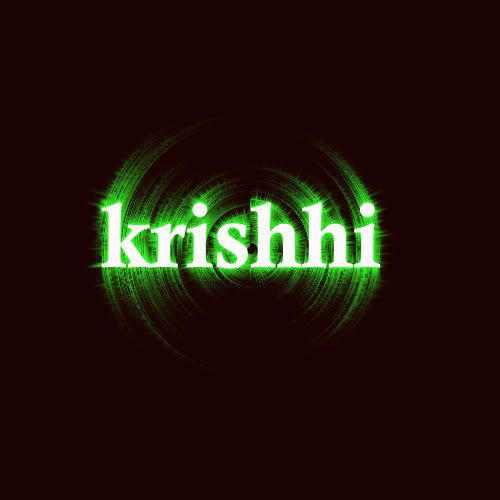
Now type something like your name or anything. Here i typed my name with white color.(The font size must nearly 35-40 with bold for good appearance. It look like this.
Now rasterize the text layer. Now ctrl+click on the text layer, copy the selection and paste it on new layer.Now delete the text layer.
step 3: This is the interesting step. Now select the layer (which was previously pasted on new layer) then Filter>Distort>polar coordinates. Select the polar to rectangle

The Image look like this
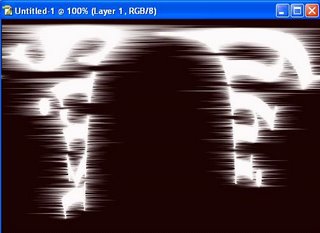
Now filter>stylize>wind(select left to right) and the same procedure filter>stylize>wind (select right to left now)

The image look like this
Now select image>rotate canvas >90c, then simply press ctrl+f the image look like this
![]()
now again select image>rotate canvas>90ccw. Now the image look like this.

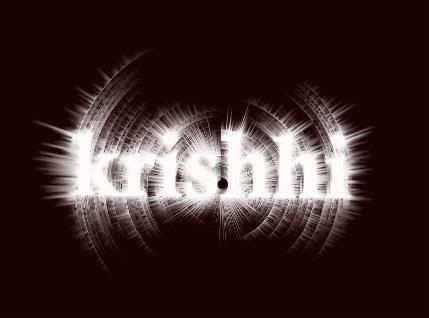
Now the fun part, Now go to filter>distort>polar coordinates, then select the rectangle to polar. Now the fun part completes
and the image look like this
Now the additional part, take the text tool select the different color and type the same name what you type previously that is here my name, Now try to adjust the text layer to the previous layer. That is like this
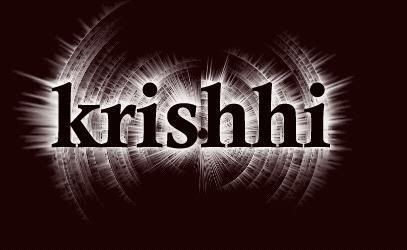
The final and last part you may adjust the colors to the design by playing with the hue/contrast
Hope u like this guys :).. if u like this please give ur suggestions.. Thank you one and all.(This was the adopted tutorial .. It was seen very past.. i didn't remember the site anyway thanks to the author for excellent tutorial)
Sketch Effect
Tuesday, September 19, 2006 Tuesday, September 19, 2006
Here is the tutorial on Converting the color image into Sketch... let see how it will be .....
Step 1:
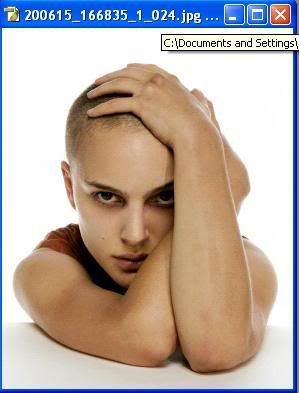
Lets open the image you want to convert. Here i opened this image
Step 2:
Duplicate the image and desaturate the image.(ctrl+shift+u) It look like this
Now duplicate the desaturate layer.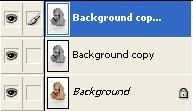
Step 3:
Now Duplicate the desaturate duplicate layer and invert the image... The image something look like this (shortkey is Ctrl+I).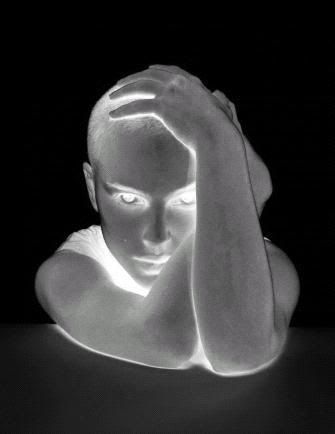
Step 4:
Now in this step we have to going for sketching the image... Just go through this. Now just change the layer mode of invert image to color dodge. The image look like this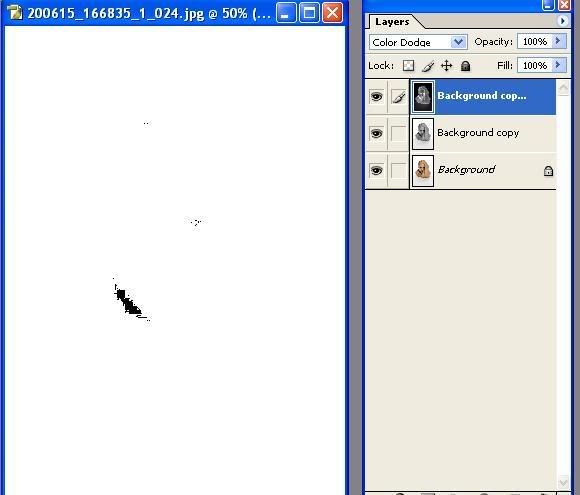
Step 5:
NOw the fun part just simply adjust the "Gaussian blur" like this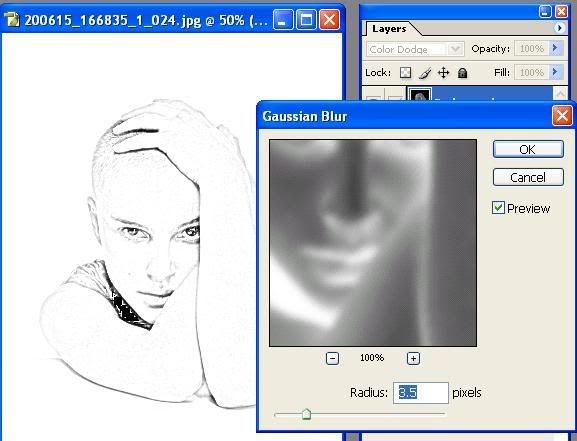
YOu may adjust the radius as You like.
Step 6:
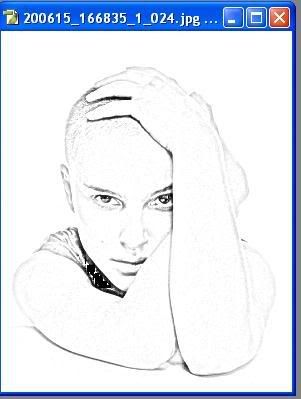
This is the final and last step now the image look like this (You may adjust the image with curves and adjusting contrast/brightness. It is your wish)
Face painting
Monday, September 18, 2006 Monday, September 18, 2006
No one ask me to write tutorial on "face painting".... It is my personal interest to show the trick to you... and i am not perfect in english to tell you this technique in perfect manner.. But i will try my level best :). So if any mistakes you found please excuse me.ok, Lets begin
Starting With an Image :
Let open the image, and my golden rule is to duplicate the layer
Here i used this image for the face painting effect
but the image must be clear.
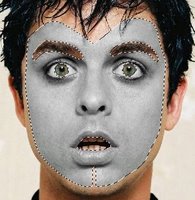
Selection :
It is the most important task... the selection should be clear and perfect then only we can easily achieve the effect... let's see my selection
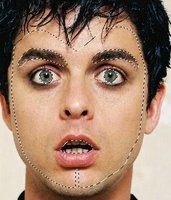
ok, now the selection part is over.But still apply the selection or save the selection. Now go to next step
i mostly prefer each selection is on different layer
Desaturation:
Now the image was in still selection now duplicate the layer(only selection part) and desataurate the image by press ctrl+j.
Here is my Desaturation image
 Applying Face Color :
Now the fun part begins.. now we are going to apply the color to skin that is on face. Its really interesting part why because it was achieved only by the brightness/contrast by adjusting the levels.
So go to image>adjustments>brightness/contrast

Now just adjust the levles as u like (But it only for the black and white combination)
here is my adjusting levels

here is my output of the adjustment of the brightness/contrast

Eyes and Mouth :
Now the fun part with the eyes and mouth just select the eyes and mouth and use the hue/saturation for different color combination. here is my achieved
images of eyes

and mouth

Final stage :
ok we have almost done.... Now just made adjustment for better vision by applying the eyes color or tattos on face whatever it may be.... here is my final product of the "Face Painting"

Ok it's over but you may apply the hue/saturation instead of the brightness/contrast for other effects. here is the example


